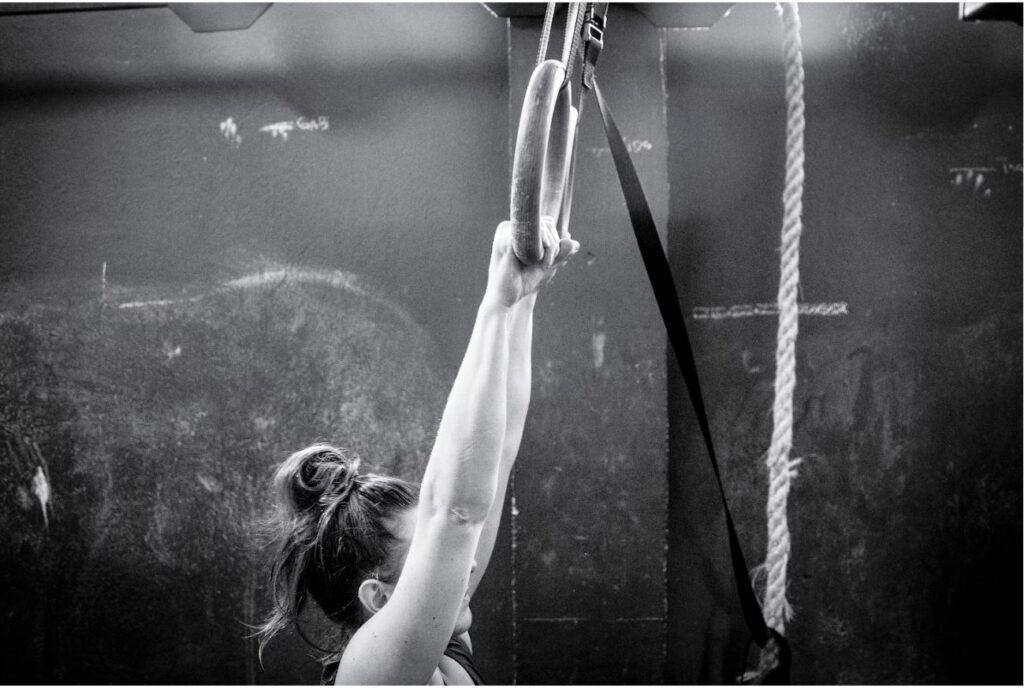
Gymnastic rings are excellent training gear for strength training, especially for the upper body. However, exercises performed on this equipment may be challenging, requiring high body control and flexibility, even as you manipulate your suspended body.

Besides bodybuilding, these rings also help improve your body balance and overall coordination. The rings wobble and can be quite unstable, especially when you are unfamiliar with them at the early stage. So as you work out, you know you have to be careful lest you fall, injure, or twist your shoulders. The rings are often in pairs, making them suitable for exercises such as push-ups, pull-ups, dips, muscle up, roll out, spinning, etc.
This article provides simple guidelines for setting up the gymnastic rings so you can also start engaging in these exercises.
Parts of a Typical Set of Gymnastics Rings
Gymnastics rings, or ‘still rings’ as you may call them, exist in different variants in the market. However, they usually present similar designs containing these two main parts.
- Rings: The gymnastic ring is usually in plastics, wood, or metals. The rings hang freely, connected by straps to a rigid frame.
- Straps: The straps support and suspend each ring, keeping them in place. It’s usually designed with industrial-grade nylon materials.
- Buckle: The buckle helps to secure the ring and ensure it remains connected to the straps. It also allows you to easily adjust the height of the ring as you may please.
Guidelines on How to Set up Gymnastics Rings
Before hanging your rings, the anchor point – the location to hang the rings is critical. You need a stable structure that can carry your body weight while exercising with the rings. Let’s take a more detailed approach to how you set up your gymnastic rings.
Step 1: Find a Suitable Location to Hang the Rings
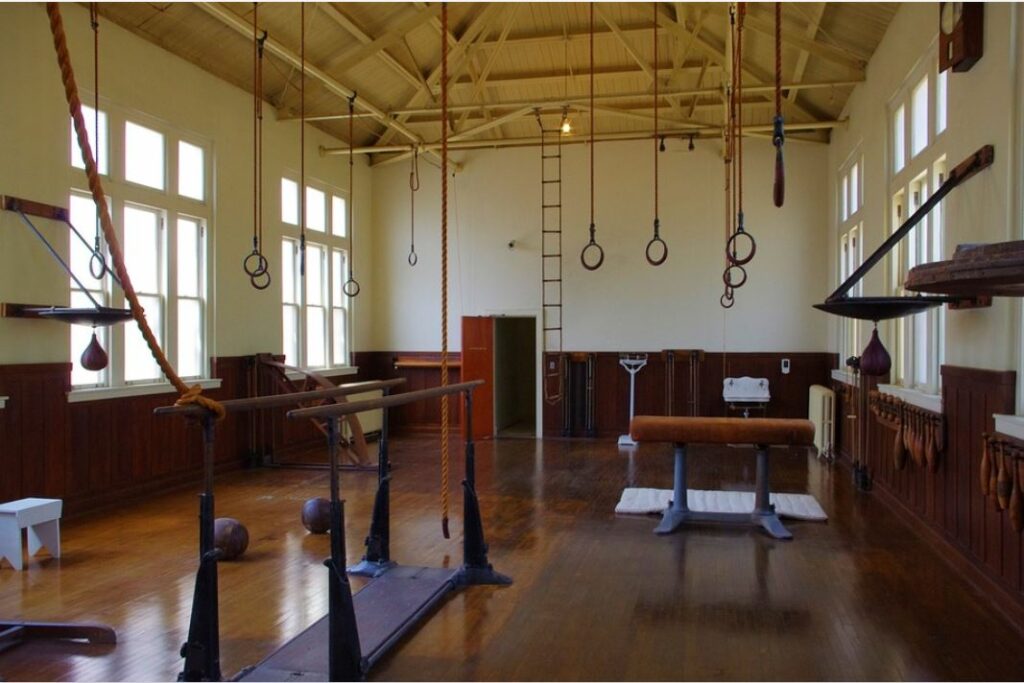
The ideal hanging site of still rings should have adequate space and height, allowing you to explore various workouts and exercises. A typical location should measure about 8 to 13 ft (about 2.5 to 4 meters) above the ground. Finding a suitable location well above the ground allows you to easily lift your body or spin around, among other advanced workout routines.
Should you prefer to engage in simpler exercises below the ground, height may not be a prerequisite for your location. Typical examples for the hanging site of your rings can be indoor – garage or basement or outdoors, in the yard, on a strong tree branch, or some tall monkey bars. Another option is to build a metal or wooden frame solely for the rings in your yard.
You must ensure that the structure is sturdy and strong enough to carry your weight regardless of where you are attaching your rings. So it doesn’t come crumbling midway through your exercise, as that may be detrimental, resulting in a severe injury.
Step 2: Assembling the Straps and Rings
After finding the right location, the next thing is actually to set up your gymnastics rings. This includes the following:
- Throw the straps over the frame to hang the rings. Take one end of the straps, especially the one without the buckle, and throw it over the frame you intend to hang. The same applies if you use a tree branch or whatever you use for support.
- Ensure to lose any twist or wrinkle on the straps. You may need to twist either side of the strap to lose any knot. Then, adjust the straps until you have the buckle at the other end facing outward so you can easily attach the rings.
- Attach the rings to the end of the straps. Run the end of the straps through the middle of the ring. Once the ring is in the strap, grab the buckle, which will let the ring hang on the strap. Since there are two rings, ensure to follow the steps for the other ring. In the end, you’d have a pair – a complete set of the gymnast still rings. Proper attachment of the rings to the straps makes them hang freely in the air, with the straps providing adequate support.
- Insert the straps into the buckle to secure the rings on the straps. After attaching the rings to the straps, you must buckle down the straps to prevent the rings from loosening while exercising. Should the rings separate from the straps during a workout, it may result in an injury.
- Adjust the straps till you have the rings at the desired length. At this stage, the ring attached to the straps already forms a loop with the ring at the base suspended in the air by the straps. The exercise you intend to practice may determine the length of the loop – how high up the ring is from the ground. If you are doing pull-ups, you need the straps to be high, so there will be enough room to accommodate your body while exercising. While in the case of low-body exercises, you can lower the rings to your chest level or even lower.
Checklist to Setting up Your Gymnastic Rings
We have extensively discussed the height of your rings when setting up this gear. Below are some other items to keep in mind before installing your rings.
- Width of the Rings: Set up the rings about 45 to 60cm apart for convenience when exercising.
- Surrounding Space: Ensure enough space for comfortable training and workout sessions with little or no limitations. Also, ensure that the area is clean, safe, and free of items like chairs, sharp edges, and pointy objects that may cause accidents. A 6ft clearance seems the ideal spacing.
- Stability: Ensure that your anchor is sturdy enough to carry your weight. This helps to boost your confidence when training.
Safety Precautions when using Gymnastic rings
Before using a gymnastic ring for simple or more advanced bodyweight workouts, always confirm that the rings are well connected to the straps. Also, cross-check the strength of the straps and the frame that holds the whole apparatus in place.
Try to use your body weight to pull the straps to confirm if it possesses enough strength to carry you through an exercise routine. These precautions are important; otherwise, you fall midway through your workout, which may result in a severe injury like a fracture.
Warm-Ups and Stretches
Gymnasts must make it a routine to practice general warm-ups before exercising. This is particular for any sport or exercise, as it readies your body before engaging in strenuous activity. You shouldn’t just move straight into advanced workouts, lest you risk an injury. Instead, you should transition from basic workouts, such as simple body stretches, before progressing to more advanced exercises using the rings.
Stretching and other warm-up activities help improve blood flow, elevate body temperature, and enhance body flexibility and coordination even before the actual workout on your gymnastics rings. Also, since it prepares your body, it allows you to perform at your peak while reducing the risk of injuries.
Here are simple warmups and stretches to prepare your body for advanced stretching on the rings.
- Leg stretches
- Lunges
- Jogging on a spot
- Leg bends
- Standing side bends
- Butt kicks
- Knee bends, etc.
Exercising with gymnastics rings essentially works on muscles in the upper body. Gymnastic training puts a lot of strain on the upper body. So, you may need to focus your warm-up and stretches on the upper body parts.
Examples of warm-up and stretching for upper body parts include:
- Air punching
- Use of jump ropes
- Practice a couple of bench press
- Use a ball to attempt basketball shots
- Arm circles
- Arm cross-side lunges, etc.
Engaging in any of these warm-ups and stretches for about three mins, including the general ones earlier mentioned, will adequately prepare your body for gymnastics.
Conclusion
Once you follow our guidelines, you’d be able to perfectly set up your gymnastic rings depending on the training you intend to practice and start your routine. But, again, ensure the rings are securely fastened to a firm and stable structure that can carry your weight.