The journey to gain muscles can be a very challenging one. You simply can’t do it if you just keep doing the same workout or using the same equipment over and over again. Dip bars however, allow you to target specific muscle groups and work on your biceps, chest, and back. Good news is that you don’t need a gym for dip bars anymore because you can make them on your own. In this article, we provide you with everything you need to know about dip bars and how to safely make them for ultimately beneficial workouts.
Content:
- What are dip bars
- Checklist of essentials
- PVC vs. wood dip bars
- The building process
- Tips
What are dip bars
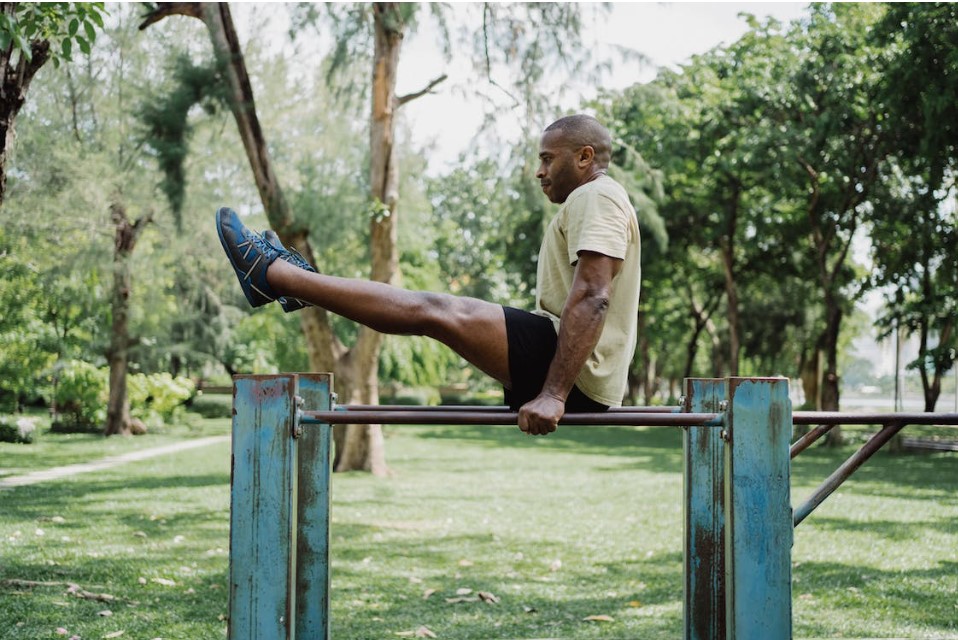
There are many bodyweight exercises that you can do to speed up the journey to gain muscles but doing dips has to be the most intense, yet the most effective one. A dip bar is a piece of training gear that enables one to stabilize their body with their hands and dip their entire body down and up while lifting their legs off the floor. It is a beneficial equipment that targets muscle-building. The stand has two horizontal bars that are parallel to one another. The dip bar can be used for a number of workouts that use the body’s weight as resistance to help tone the upper body, build muscle, and improve balance and mobility. When compared to other exercise equipment, this machine is typically quite affordable.
The stabilizing platform for performing dips can be provided by mounting two separate arms to a wall using screws or bolts in some variations of the dip bar, which do not have a solid stand at all. These are far less expensive than dip bar types with a stable platform, but installation can be challenging because the arms must be positioned level with one another. In order to secure the bars to the wall properly, it will also be essential to screw or bolt them into studs, which may necessitate the use of a stud finder. Some dip bars mounted to walls are made of a single piece, which makes it simpler to align the two arms.
Checklist of essentials
Note: The following checklist works best with PVC dip bars.
- 240 in (610 cm) of 1.5 in (3.8 cm) thick PVC Pipe
- 4 PVC elbows
- 4 PVC T-joints
- 8 PVC end caps or 4 end caps and 2 PVC connectors
- PVC glue
- Grip tape
- Tape measure
- Sharpie
- Vise-grip
- Hacksaw or pipe cutter
- Wooden range
PVC vs. wood dip bars
PVC Material
PVC is a desirable material for use in plumbing, building, and other industrial applications because of its great durability and lightweight. The material is also fire-resistant because of the high chlorine content, which is another factor in its growing popularity across a variety of industries.
Using PVC pipe as a building material is very beneficial, although being lightweight, it is remarkably sturdy. The 24-inch bars supporting the athlete’s weight when they dip are the design of most dip stands. The flexural strength of 1.5-inch PVC at that length is sufficient to support almost a ton.
Wood Material
On the other hand, wood gives off the best grip on dip bars. It maintains a firm hold even when sweaty. It is claimed by many athletes that dip bars made out of wood are a lot safer when working out as they prevent slippage injuries. In addition to that, wood is generally an eco-friendly material and an environment-friendly choice.
Finally, it is no one’s right to decide what material you should use but yourself. You should pick whatever you’re most comfortable with.
The building process
The following 7 steps are dedicated for installing PVC dip bars.
- Gather your materials
First of all, you need to put together a list of items that are displayed in the checklist of essentials. Depending on your own preferences, you’re free to make changes.
- Decide how much PVC pipes you’ll need
Depending on how big you want the dip bars to be and how far apart your shoulders are, the amount of PVC pipe required for the project will change. Pulling a tape measure from one shoulder blade to the other will reveal the latter. Make sure that you use pipes and fasteners that are up to 5.1cm thick for larger bars. You’d also need 4 PVC elbows, 4 PVC T-joints, 8 PVC end caps.
- Get the pipes cut
When it comes to getting the PVC pipes cut, make sure you get them done by a professional at a hardware store. You could also cut them yourself using a hacksaw for instance, but you should do it carefully. Be sure to be covered up, ensure your sleeves are not in the way of the cutting and put on safety goggles and thick gloves for added protection.
- Glue the PVC elbows and T-joints to the ends
Grab one of the top pipes, and apply PVC pipe glue or cement to either end of it. Next, twist two PVC elbow fasteners into place over the bonded areas. Ensure that both elbows point in the same direction before the glue dries. Repeat the procedure with the second top pipe after that.
- Assembly the parts together
Wrap some glue around the end closest to you of one of your support bars. Then, secure the bonded area by pressing it into an elbow joint. With each of the 4 support pipes, repeat the procedure all over again till you’re done. Apply PVC glue to the ends of each support pipe to create a T-joint. Attach the base bars to the ends of each T-joint using glue. PVC glue should be used to attach end caps or connections to the base bars.
- Add an extra layer of glue
Add a thin line of PVC glue to the outside of every joint for extra stability. Each PVC fastener’s minor gap with the pipe should be filled with glue. Wipe up any leftover glue using a tiny wooden spoon or other similar implement to keep it neat and tidy.
- Wrap tape grips
Working out comfortably is crucial since using your dip bars will require you to perform many challenging workouts. Wrap grip tape or some similar material around the top bars to make sure they are safe to use.
Safety and Useful Tips
There are a few things and mistakes you should avoid when building the equipment and working out using your dip bars. That way, you’ll stay safe and not pave the way for accidents.
Building the bars too low
Even though going low is actually the purpose of dip bars in the first place, going too low can be a problem. It can happen if you’re extremely obsessed with your dips workout sessions. Basically, you don’t want to move too much below parallel because doing so will place too much strain on your shoulder joints and put you at risk for injury.
Workout outside safely
Consider using sturdy wood panels in place of the foundation and support pipes on outdoor and very large dip bars. This will strengthen the structure.
Ask for professional help
Professional athletes always know better which is why you shouldn’t hesitate to seek the help of your personal trainer or coach to assist you install or build your dip bars. You don’t want to do it wrongly as that will result in disastrous injuries.
Avoid sun exposure
Although PVC is made to be resistant to sunlight and can be used outdoors, it is not advised to leave it out in the sun. The deterioration caused by UV radiation affects all PVC. Without UV protection, PVC will gradually lose its ability to withstand impacts.
Conclusion
Making homemade gym equipment can get quite frustrating at first but all you have to do is to trust the process. Using dip bars in your workouts increases your pushing strength and it is essentially an effective workout if you aim to build your shoulders, triceps, and back.